 I was in Copenhagen with my parents recently for the first time in over 20 years and although the weather wasn’t amazing I loved exploring the city’s various totally distinct areas and visiting several of the suburbs and towns around it; eating loads of rye bread and smoked fish and having a coffee on the hour every hour just like the Danes.

Denmark is very cool, and not just in a very superficial, hipsterified way. It has always been cool, and a lot of the things that the online guides wax lyrical about – the bikes, the coffee, the public transport, the food, the fashion – have been that way for a long time: there is a stylish simplicity about Denmark that has always been thus. But despite the stunning aesthetics of their cities and their smart, clean spaces and efficient public services, the Danes are lively, fun and friendly like the Irish; quick to joke and quick to help.
As well as travelling to a few towns along the coastline such as Roskilde and Dragor (both very well worth a visit if you’re in the area) and across the bridge to Sweden, I also had three full days in the capital, each of which was spent in a different quarter of the city doing very different things and eating very different foods.

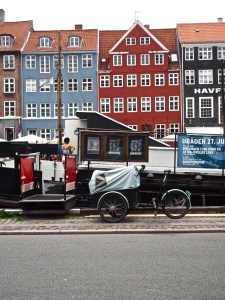
We started the first day with a coffee and a bun from a sweet coffee kiosk near Nørreport station then wandered through the Latin quarter to the canals where we began a Stromma boat tour of the harbour and its various waterways which was great for getting a sense of the shape of the city and seeing a lot of its different areas at speed, including some of the house boats in Copenhagen’s ‘hippy’ area, Freetown Christiania, and lots of famous sights, including its somewhat underwhelming mermaid statue, who seems rather lonely despite (or maybe because of) the hordes of tourists taking pictures of her, perched sadly on her cold rock. Furthermore, unlike many things in Copenhagen, it was also surprisingly good value, only costing around 12 euro for a very full hour and a half.


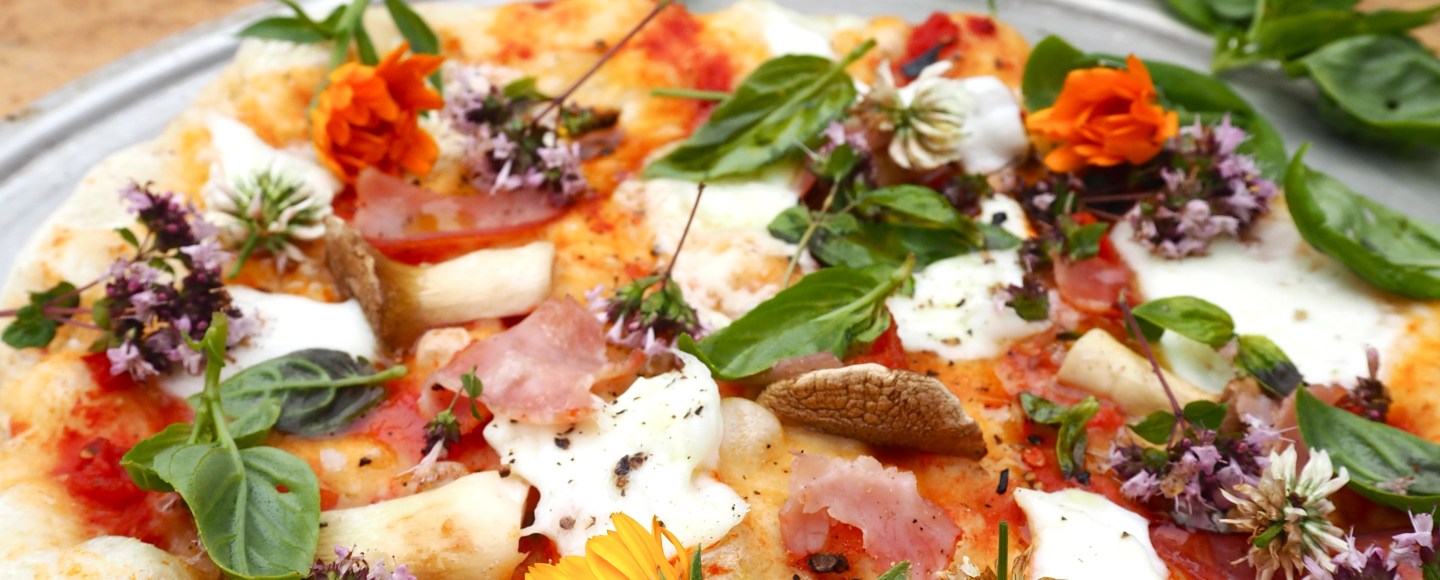
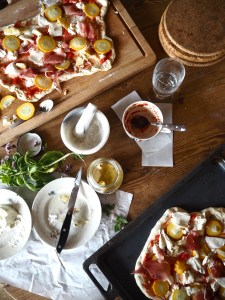
After our boat trip, we had good fish cakes, pickled herring, rye bread and beers for lunch nearby at a bar on Gammel Strand and then headed for the new Torvehallerne food market via the famous Nyhavn canal. Slick, shiny and housed in two separate glass covered buildings, Torvehallerne is fairly upscale as food markets go, but I enjoyed scoping out the various trends on show including high-end porridge at Grød and beautiful cinnamon buns at Laura’s Bakery. I bought dill seed, tomato sauce, some herb studded Danish lardo (Danes love charcuterie) and a tub of amazing, ruinously expensive Danish ricotta, which was made just a few miles away. My plan was to try making wood fired pizza using the pizza oven in the back garden of the house where we staying.
And you know what, it almost worked. Almost. We didn’t quite get the oven hot enough, but the essence of the idea was there, the flavours were good and we managed to cook a fairly convincing herb-studded focaccia in the dying embers of the oven, and so, determining that it was not a complete failure, we decided we should try using the oven again before the end of the holiday.

Before we did so, I spent two more days in the city, exploring lots of Copenhagen’s trendiest food spots, including a very Danish brunch of a smashed mozzarella ball with pea shoots & olive oil; a soft boiled egg with rye bread, a pretty good coffee and lots of very artfully composed Instagram shots going on around me at the almost painfully cool Atelier September (painful if, like me, you’re not all that cool).
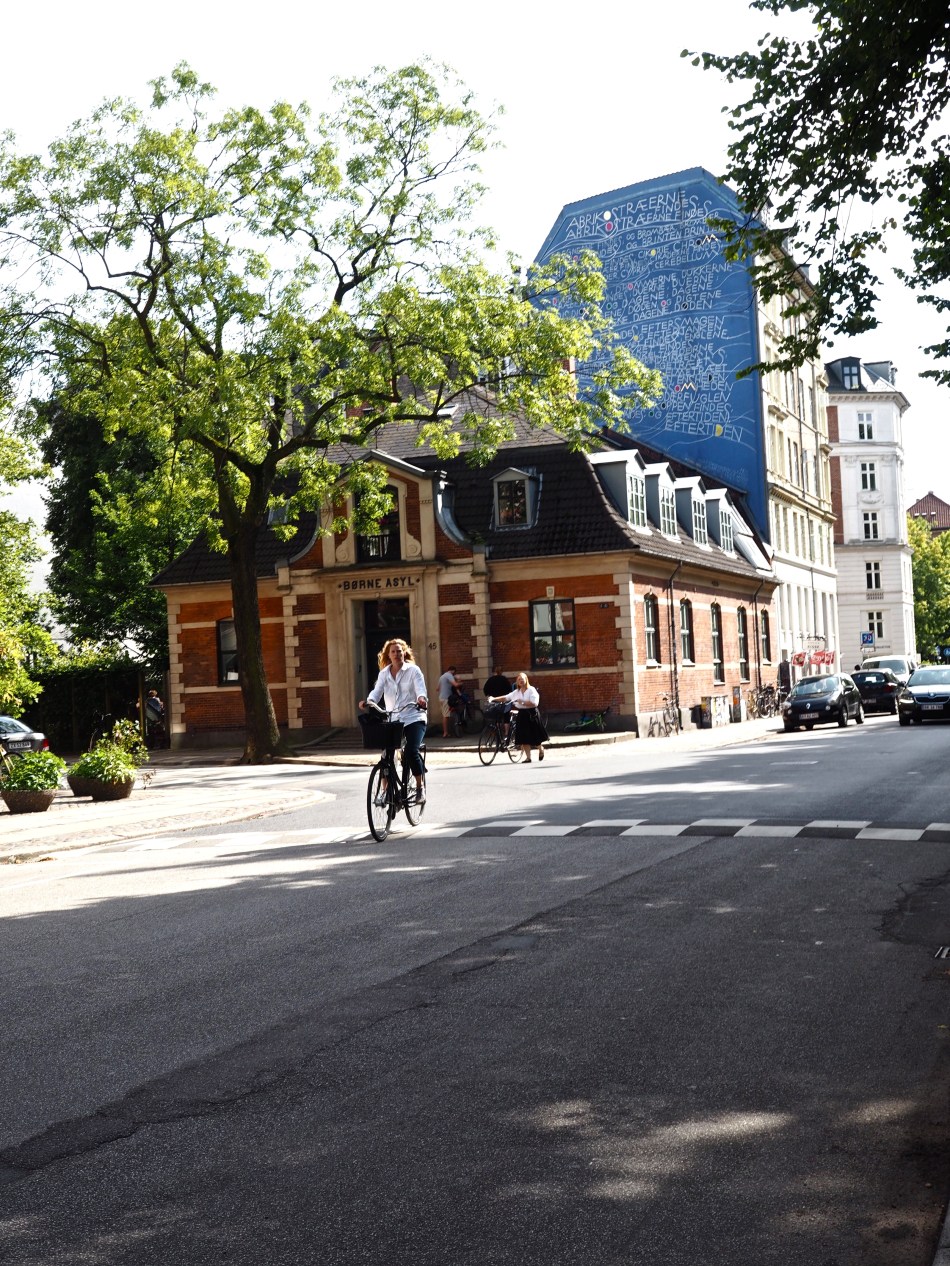
I also visited Vesterbro which was quite nice if a little spread out for my liking, and Nørrebro which I absolutely fell head over heels in love with, mainly due to the fact that the sun came out and I saw the city at its best with tots eating ice cream and cool people suddenly in situ outside cool bars and cafés on beautiful, compact, highly liveable streets.


I focused on the area around Jægersborggade and took in a gelateria that sells ice cream made using liquid nitrogen which is said to have an incredible texture (it wasn’t open on the day I was passing unfortunately so I had an equally lovely Hanson’s ice cream in a café nearby); a cool caramel shop; a cappuccino in the sunshine at Coffee Collective with my friend Darragh; delicious cloudberry & pilsner beers at BRUS (where the beers are made on-site) and an incredible meal with my friend Denis at Bæst.
Bæst is famous for its pizzas, and they really are wonderful, topped with their fabulous mozzarella and heady with herbs, but their starters are also very worthy of attention, and if you don’t have their giant orb of creamy burrata with Mirabelle sourdough and their house-cured charcuterie meats then you, my friend, are missing out.


Inspired by the delicacies at Bæst and buoyed by the knowledge that we had made all the mistakes we could have during our first attempt, we decided to give the pizza making another go on our last night. We built the fire high. We made the right dough, and halved the quantities. We used less toppings. We floured the bases to the hilt and then floured them some more. We used a pizza peel rather than a flat piece of wood.
And they turned out wonderful; bubbling, crispy, lightly charred and very, very delicious. Pizza you’d be happy to pay for, we all agreed.
So here are my tips. Some are specific to working with a pizza oven, ie lighting the fire and so on, but many of these tips are general to all pizza making, whatever sort of oven you’re using.


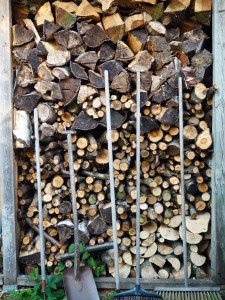
1. If you’re using a pizza oven, start your fire a couple of hours before you want to use it. Cover the whole base of the oven with well-dried hard wood and light it with twigs and some food safe fire lighters. It should be spewing out smoke; the surrounding area should smell like a campfire.
2. A little over an hour before you’re ready to cook, start making your dough. For 4-5 pizzas, you will need 500g ’00’ Italian pizza flour, 1 teaspoon of salt, 1 teaspoon of yeast, half a tablespoon of sugar, 2 tablespoons of oil and 325ml warm water. To make the dough, dissolve the yeast & sugar in the warm water and add the oil. Place the flour in a large bowl, mix in the salt and make a well in the centre. Pour in the water and bring the dough together using your hands. Flour a flat surface generously and knead the dough for 8 minutes or until smooth and elastic. Lightly oil a large bowl and place the ball of dough in it. Cover with cling film and leave to rise in a warm place for an hour or until doubled in size. Knock the air out of the dough then cut into 4-5 equal satsuma-sized pieces, setting aside a small amount of dough for using as a tester if you’re going to be cooking in a pizza oven. Shape each piece into a round using your hands. Flour the underside of a few baking tins or large wooden chopping boards extremely well with plain flour & some cornmeal if desired then place the dough balls on each board and shape into 30 cm diameter circles, pulling each firmly but carefully to ensure they don’t develop holes, pushing more flour underneath the dough with a pizza slice to ensure the base is completely floured. Leave the pizzas to prove for a little while but don’t dress them with toppings until you’re ready to cook.


3. If you’re using an ordinary oven, get it up to the highest temperature it will go to at this point and place some kind of pizza stone (or even just a heavy metal baking sheet or an upside-down baking dish) in the oven to get really hot. If you’re using a pizza oven, push the glowing red logs & embers to the back of the cavity. Carefully brush away any ash using some leafy branches or rags in preparation for cooking, ensuring that they do not touch the fire.
4. For the tomato sauce, either make your own by frying half an onion in oil till golden, adding some chopped tomatoes, herbs, salt, black pepper & a pinch of sugar and blending or use some decent quality herby pasta sauce. Use no more than a tablespoon of tomato sauce on each pizza, using the back of the spoon to spread it all the way out to the edges. Top the pizzas with very small amounts of the toppings; a few pieces of fresh mozzarella, a scattering of grated cheese (a little of a very melty cheese like Gubbeen, taleggio or havarti is great for adding flavour), a small handful of sliced ham or mushrooms or whatever you fancy. Don’t go over the top though, as a heavily loaded pizza will be soggy and won’t rise right. Sprinkle over a small pinch of salt, lots of black pepper and add a small drizzle of olive oil.

5. Before you start cooking the pizzas, test if the oven is hot enough using a small piece of dough. It should rise well without burning too much on the bottom. When you’re satisfied that your oven is hot enough, carefully transfer your pizza to the pizza oven using a peel (the long paddle you see in pizza restaurants) or to the pizza stone in a regular oven by moving it carefully with a fish slice. Bake for 6 or 7 minutes, or until cooked to your liking. If using a pizza oven, rotate the pizza midway through cooking to ensure it cooks & darkens evenly. If you’re cooking a large number of pizzas and are worried that the oven is cooling too much, move the embers back to their original position & clean the ash up where they were to cook on the opposite side.
6. To serve the pizzas, drizzle over a little more oil and cover with lots of herbs (adding herbs works better at this stage rather than during cooking). If you’re cooking lots of pizzas, it is easiest to cook and eat them one at a time, with everyone sharing each pizza.


Nicely explained with good pictures 🙂
Thank you! 🙂
nice dish
Love your photos!
Interesting pictures. Temping pictures of food. Hope you had fun.
Thank you! I certainly did 🙂
Great.
Lovely as always Ellen – would love to visit Denmark sometime soon 🙂
Thanks Sinead! 🙂
I would love to visit here and that pizza looks outstanding!
Thank you! 🙂
It doesn’t get better than this… Food fired pizza… No comments needed.